Showing posts with label free. Show all posts

Wednesday, October 15, 2014

Free Tutorial to Make your own Unique Rangoli this Diwali.

Dear Angel hearts

Diwali here is just around the corner. Homes are being cleaned and spruced up to welcome the Goddess. The festivities include lights, sweets, floral garlands on the doors and a traditional Rangoli at the doorsteps to welcome the goddess.

This is a small tutorial to teach you how to make a reusable Rangoli that can be displayed in infinite ways so you have a new look daily. Its easy to make, totally reusable and made out of materials you probably have at home.

Traditionally Rangolis were made directly on the floor by applying a coat of red mud (The kinds used to make pottery) in a square shape. Once it dries the square is further marked with 1” dots that would look like square grids so one has a guideline to create the free form designs. The outlines are drawn with the help of white powdered Rangoli and then they were filled in with colored powdered Rangoli.

These days there is very little time and space to create these beauties traditionally. So I am going to show you an easy way to create a quick and easy modern way to make it. Rest assured it will still look rustic and traditional. And its portable. You can make it look different each day. Its so simple to make that you could probably make it a small family craft activity.

I first demonstrated a slightly different version 3 to 4 years back during a TV show MI Marathi Channel (Mogra Phulala) which ran a capsule on DIY crafts.


I have been procrastinating about trying out a slightly different version and sharing it with everyone for long and I decided it had to be done before this Diwali.

Just an example of what the many possibilities at the end of this tutorial.


So here we go.

This is what we need

  • Cardboard – You could use a thick cereal box is you like.
    • Brown Cardboard - 12”x12”- 1 Piece – If you dont have brown you could paint it brown.
    • White Cardboard - 4”x4” - 1 piece
    • White Cardboard - 2”x2” - 4 pieces
    • White Cardboard - 1”x1” - 4 pieces


  • White and Silver Glitter 3D tubes
  • Scale
  • Pencil
  • Scissors
  • 4 Different Shades of Acrylic Paints of your choice – I used acrylic shades in Red, Orange, Blue and Green. The traditional festive shades. In case you are working with kids even craft paints will do.
  • A few round mirrors
Here is how you we go about it.

Leave the Brown cardboard of 12”x12” aside. We will need that as a background later. In case you are using a white cardboard just paint it a nice shade of mud brown and set it aside for drying. I use acrylic paints but you could use any craft paints that you like.

Next draw two diagonal lines across the 4”x4” squares and the 2”x2” squares and 1 diagonal line on the 1”x1”squares. This is how how they would look.


Next cut them across the diagonal lines so we get triangles in various sizes. Here is a photographs of the tirangles cut and ready. This method will give you even triangles and is a lot quicker


So now we have the following pieces


  • 4 large triangles from the 4”x4” square.
  • 16 medium triangles from the 2”x2” squares
  • 8 small triangles from the 1”x1” squares (we drew only 1 diagonal across these) 
Divide and stack them up as follows so its easy to start painting in equal numbers.


  • 2pcs x 2 sets of large triangles
  • 4pcs x 4 sets of medium triangles
  • 2pcs x 4 sets of small triangles.
Once ready start by painting the background color. The number of sets is the number of colors that you can work with. Since I worked with only 4 colors I painted them in this order.

Large Triangles 2pcs orange, 2 pcs Blue,
Medium Triangles : 4 Pcs of Orange, Blue, Red and Green each.
Small Triangles : 2 pcs of Orange, Blue, Red and Green each.

So essentially I repeated the main large triangle colors for the small and medium triangles sets and added two more colors for the small and medium triangle sets.

This is what they look like.

Next I outlined the borders of each triangle with white 3D paint. If you dont have 3D paint use a brush and white paint to draw a line or use a gel pen. Outline the 12”x12” brown cardboard too. You can do double or triple lines if you wish for the brown square piece.Let it dry. This is how my dried pieces look.


Once the outlines dried I added the mirrors on the 4 large triangles. Now here is a simple technique to add these mirrors. I also added the mirrors on the 4 corners of the brown cardboard.

Step 1 : put a large enough blob of 3D silver glitter in the center of the triangle (pic1)
Step 2 : Gently place the mirror on top. Never mind the glitter is all underneath and not showing. (Pic 2)
Step 3 : use the back of the brush to gently press down the mirror adjust the mirror firmly into the nicely formed glitter border. Its easy and you will never go wrong with this method. And it fixes well. (Pic 3) Leave them to dry

For the rest of the medium and small triangles I just put a small drop of 3D glitter in the center and let it to dry. Pic 4


Let them all dry nicely and its all ready. The fun can now begin. Start by placing the larger triangles in the center and work with the medium and small pieces on the outside. Here are some examples of how I arranged them on the brown cardboard. You dont need to stick them at all. They will remain in their place easily.

The possibilities are infinite. Just keep playing and having a new Rangoli or a Mandala Design every day on your door step or home. And its easy to maintain.

Option 1


Option 2

Option 3


Option 4 - I placed a tea light in the center to show you how it looks. The brown space can be used to decorate with tea lights if needed.


I hope you enjoyed the simple DIY and will make some for yourself and friends and family and show me how they look.

Have fun with infinite possibilities.

I have tried to make this DIY as simple as possible however if you have any further questions please feel free to let me know. I would be happy to revert.

Much love and light
Prerna Poojara
Catalyst for Creative Compassion

PS: sorry some of the pics are really wonky. 

Thursday, March 20, 2014

Make Bidriware Style easy Mandalas

Hello soul sisters

My latest post is about making easy Mandalas that interestingly look like Bidariware Art from Karanataka. Traditionally it is a very delicate and intricate work and goes through a lengthy process. The products are gorgeous and are aptly called black beauty. Just to give you a taste of India I am showing you how to be inspired and replicate it right from the comfort of your home. No special equipments needed. Even kids can make them. Its that simple.

A sneak peek at what they look like and how you can use them.


Here we go.

All you need is some CD's, Black paint, a sharp object (old pen/old filer) imagination.

Simply coat the shiny side of the CD with quick strokes of black. Let it dry. I tried after 30 minutes and also leaving some overnight. It dint matter. But use the shiny side only for best results.


Once dry use a sharp tool like an old ball point pen or an old filer. Mark a plus and multiplication sign in the center and also at the edges just to give you an idea of equal spacing. It does not have to be perfect. Since the circle is larger towards the outside I have added one more mark in between the plus and multiplication marks.  (Bottom left I have missed a marking - that shows how far apart the markings would be if you dint do the in between marks) You don't have to do this if you just wish to go free hand.


And go. Simply start creating these pretty pieces.

Start with the inner circle. Bidari work has a of floral motifs. So I started with a floral pattern.


Added leaf like shapes.


Extended the leaves Overlapped the leaves and they turned out to be like a large lotus. Some dots and lines inside.


Added some dots. Thickened some lines to make them broader by scratching them a bit more.


Here is one more finished piece.

We are all aware of the therapeutic properties of creating mandalas. They are blissful and one can get engrossed in the personal dialogue while creating them and yet one needs to be mindful while creating because it does have some symmetry and direction and movement while creating.

Once created these energy pieces can be used for various purpose.

If you wish simply stick a black paper on the back of the finished piece and write a note or a saying and gift it.

Or

I super glued three flat metal beads at the bottom at 12Oclock/5Oclock/8O clock positions for it to be able to stand. You could also use some colored stones with a flat back. But these silver ones kind of matched with the whole look.


and you have a pretty little altar tray


to keep your goddess/gods


Or use it as a incense holder.


Or a candle holder.


These pieces are small and wont take long. Go ahead and make as many as you like.

Plain simple and gorgeous.

Would love to hear from you if you like this small DIY.

Much creativity and joy being sent your way.
Prerna

Catalyst for Creative Compassion.

PS: If you like this DIY and use it then a link back to the blog post will be highly appreciated. 

Saturday, October 26, 2013

Some new skills I learnt - Thanks to craftsy

Hello every one,


Thanks to my cousin who had a mini table space at her office and my gorgeous jewelery was on display. So I made lots of new stuff. 

I always painted pendants but used to use ready made cords. Then I discovered a new place online to learn some new skills that I always wanted to learn. My favorite place to take workshops these days is CRAFTSY.COM.

I have already taken 3 workshops there and I am more than delighted with their platform for several reasons.  
a) I can watch the videos for ever. They don't expire ever. A big bonus for me. No rush and no need to download and keep and occupy my disc space. 
b) The quality of videos is really very professional. 
c) The instructors are excellent. 
d) The videos are surprisingly viewable without much delay time. 

These are the three workshops I have taken. 

If you want to know........

What is Craftsy?
Craftsy is a worldwide craft community offering online classes. It also has a patterns marketplace where independent designers can sell their patterns; a supplies shop with great deals on yarn, fabric, and class kits; and a projects section where members share pictures of their latest craft successes. With over two million members and counting, Craftsy has something for just about everyone, in categories ranging from quilting, sewing, knitting, painting, photography, cooking, and more. 

I had already done a post on why I love the online courses early this year. So I am hooked on to the medium big time. 

But just in case you still have that big Question....... 

Why should I take a class online?
Online education isn’t just for schools and universities anymore. Craftsy courses provide you the convenience of a world-class instructor in your home, whenever you want to learn. Online education, no matter what subject, is a great alternative to in-person classes for a number of reasons. 

With many online learning opportunities being on-demand, you are able to learn at your own pace, anytime. Online learning is a fantastic alternative to in-store craft classes for people with busy schedules or who have difficulty leaving the house. It also allows you to watch a troubling section over-and-over again, so you can see exactly how a technique is carried out, or refer back to your class for relevant concepts before beginning any new projects.

I would suggest you do go check the free classes before you decide here is the link - Free Craftsy Classes

They have some gorgeous sale coming up every now and then so it would be nice to subscribe so you don't miss out. I have grabbed workshops at as low as $10 during sale. They are worth every penny.

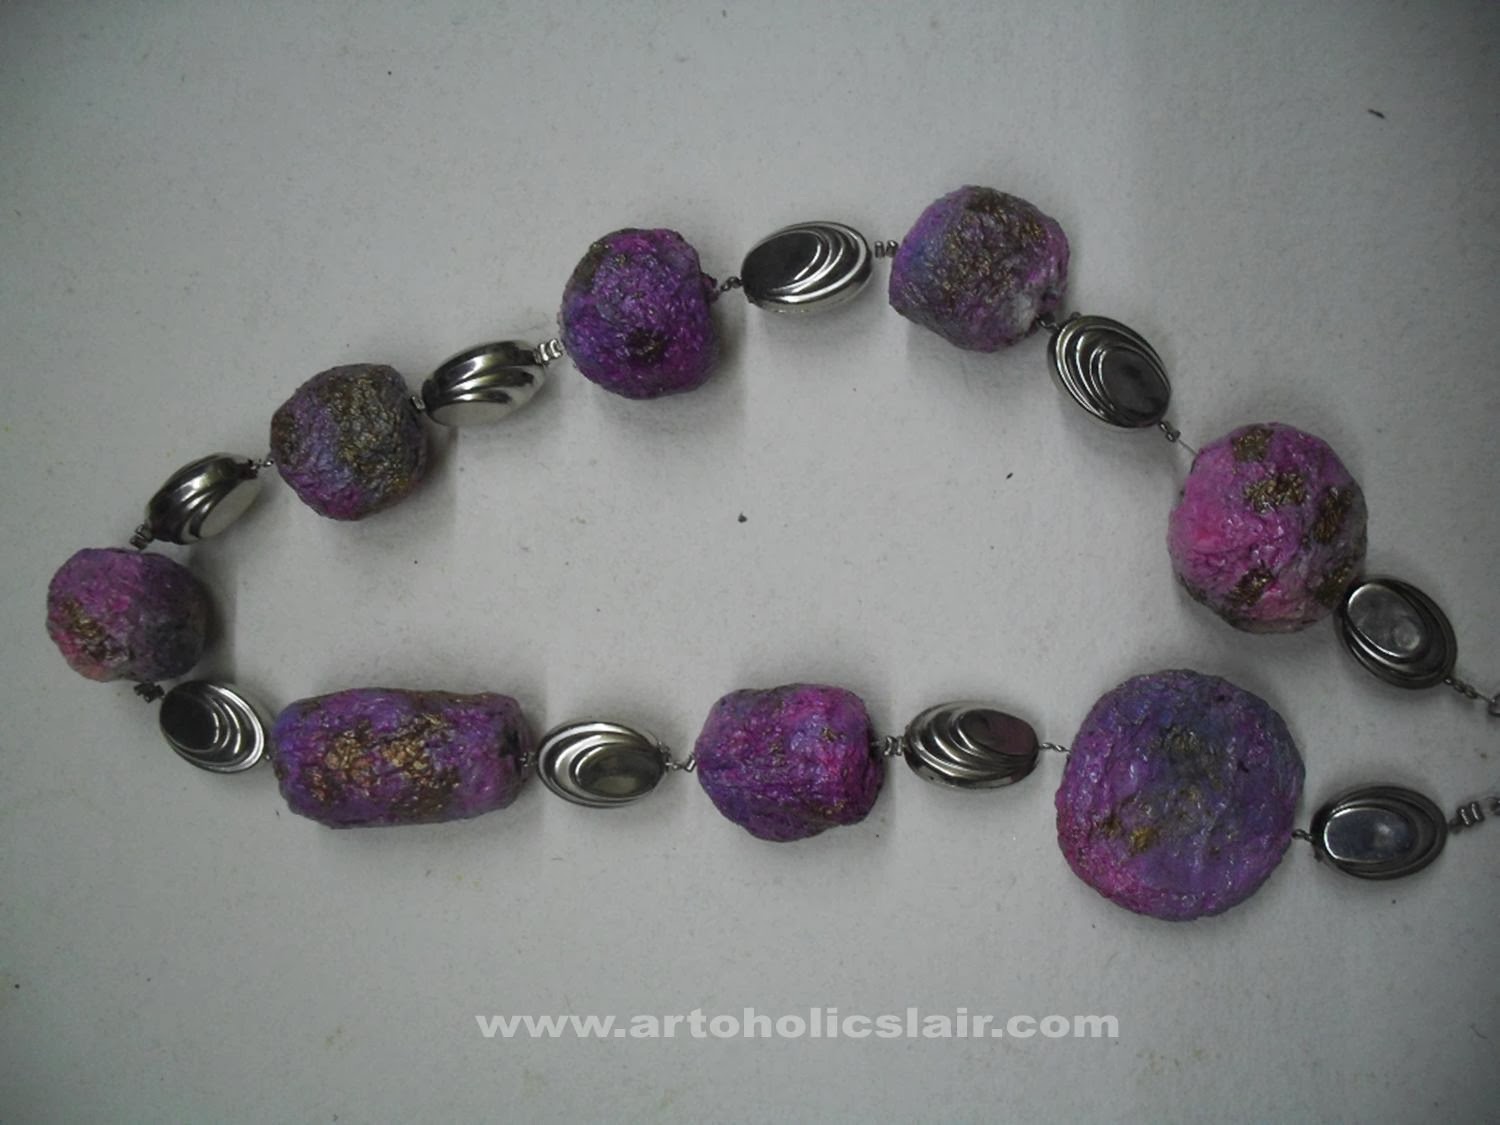
Some of my pieces I made after I joined Craftsy.com ....


Some skills I got to learn.....

I learnt crimping. 
I learnt knotting - I practiced on old paper beads
Multi Strand Necklaces - loved the combinations
Had fun with beads, crochet and wire 

Made my own clasp for the chain. No more buying ready made findings


Have a fun filled weekend.

I hope you enjoy. I have a free resources page on the top which you can check from time to time.

Love and Light
Catch you soon. 
Prerna

Disclaimer : I do have a craftsy affiliate, but I would recommend even otherwise as I love their platform. 

Wednesday, October 24, 2012

FREE Mandala Painting Class

Hey Every one

You can join the Free Seed of Life Mandala Painting Class on http://guadascircle.ning.com/

Her Mandalas are very pretty and her instructions are so very easy to follow. You will love the class.

Check out my Mandala in progress below. We are yet to reach the background stage. Its meditative and I am so hooked.

Look forward to seeing you there.


Happy Mandala Making.

Love and Light
Prerna